Beginners Guide to Digital Audio Workstations (DAWs)
")
Everything is software or app-based these days. Search "music production software," and you'll be hit with ten "industry standards" all promising to change your life. These software programs are called DAWs, which stand for Digital Audio Workstations.
This blog will provide a beginner's guide to using a DAW, as well as an overview for intermediate producers looking to switch to another DAW. All DAWs are similar in basic features, functionalities and purpose, so it makes little difference which software you choose. Once you familiarize yourself with the key elements, everything else will fall into place.
What is a Digital Audio Workstation?
A Digital Audio Workstation (DAW for short) is your all-in-one studio inside a computer. A DAW allows you to record, edit, mix, and produce music without the need for tape decks and outboard racks, all from your computer screen.
DAWs are like siblings: they have different personalities but share the same genetics. Once you learn the fundamentals, such as recording, editing, arranging, and mixing, you can switch between them like changing instruments.
DAWs are the foundation of nearly all modern sound creation. One benefit of DAWs is their flexibility with other tools. You can start with basic equipment and scale up as your skills grow.
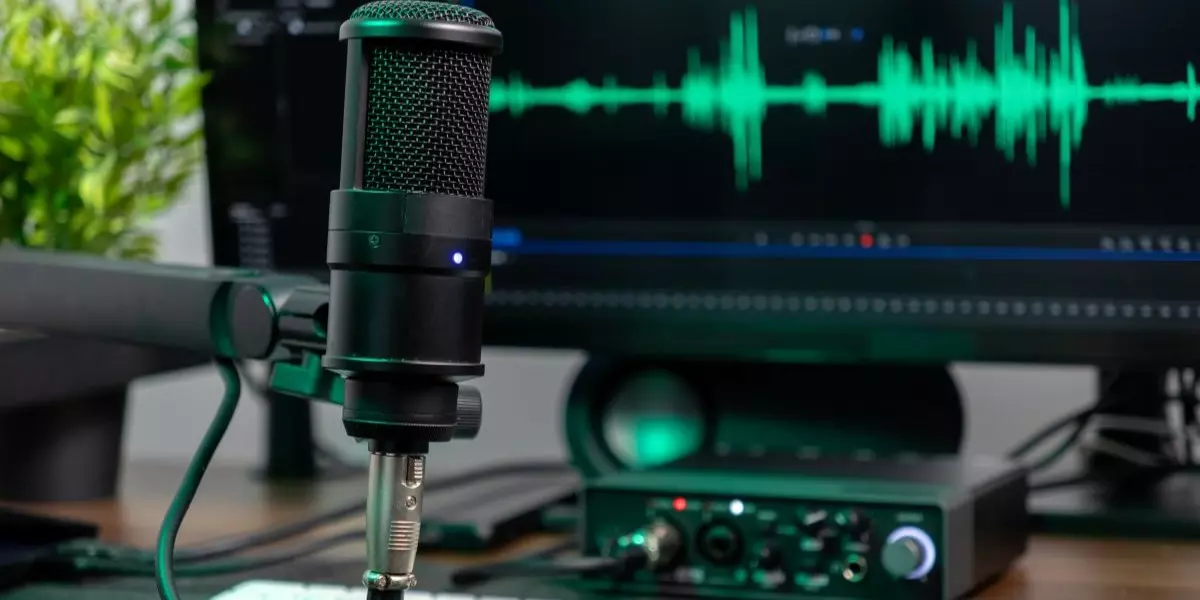
Tools You Need For Your Home Setup
If you're setting up your first home studio, you'll need more than just the software. Here are a few essentials you will need to begin making music:
- A computer with sufficient processing power and storage.
- A reliable audio interface to connect instruments or microphones.
- A good pair of studio monitors or headphones for accurate sound playback.
- A MIDI controller to play and program virtual instruments.
- And of course, your DAW of choice
Beginner's Guide to DAW
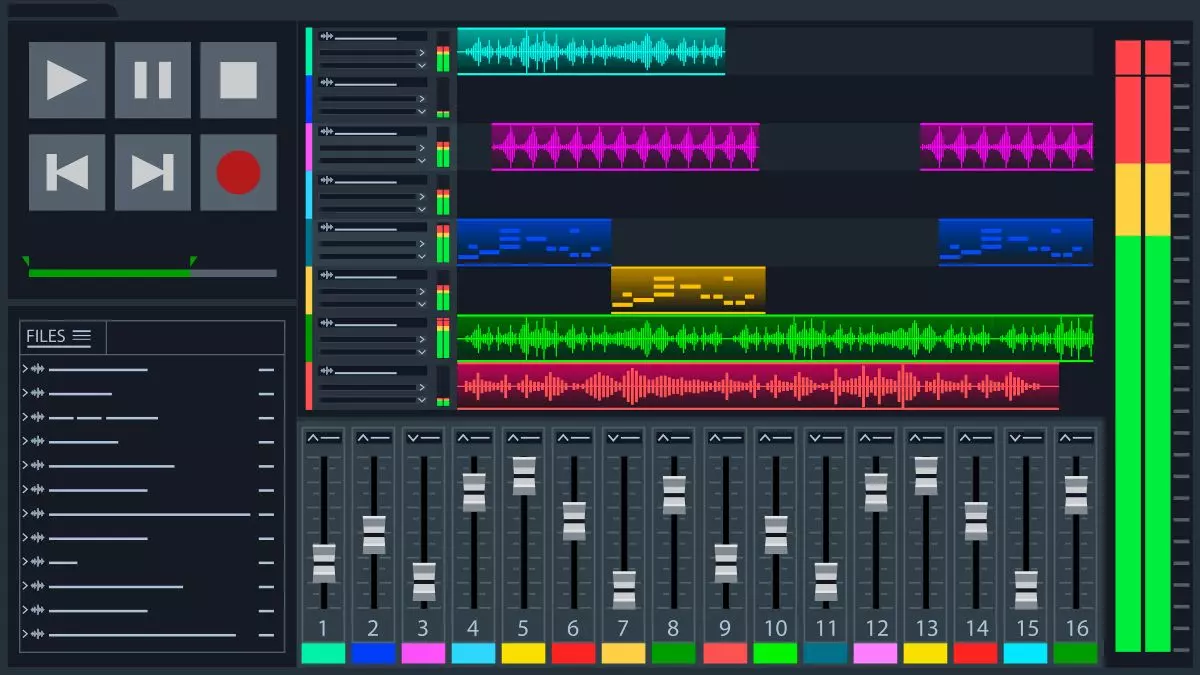
Think of a DAW as your creative command center. With a digital audio workstation, you can:
- Record multiple tracks at once from vocals, guitars, drums, and synths.
- Edit performances down to the millisecond for precise timing.
- Mix with equalizers, compressors, and reverbs.
- Arrange your project for structure and flow.
- Master your track for streaming or distribution.
Common DAWs Software and Their Strengths
Each DAW offers a slightly different workflow and feature set. Here's a quick overview of popular options and what they excel at:
- Ableton Live – Favoured by electronic producers and DJs for its session view and real-time looping.
- FL Studio – Excellent for beginners; has a powerful step sequencer and creative MIDI workflow.
- Logic Pro – Apple's flagship DAW, combining professional tools with an intuitive design.
- Reaper – Lightweight, affordable, and highly customizable for recording and mixing.
- GarageBand – Ideal for beginners using Mac; a streamlined entry point into Logic.
- Pro Tools – Industry standard for large-scale recording studios and post-production work.
The 4-Week Crash Course: Learning a DAW in 30 Days
The next question you may be asking yourself is, "What DAW do I choose since they're all similar?"
Since most DAWs offer a 30-day trial, this blog will break down the process into four weeks. Think of this as your beginner music production guide. This should give you ample time to familiarize yourself with the user interfaces of all the beginner-friendly DAWs.
Covering every aspect of audio engineering in a four-week crash course is nearly impossible, so this guide will introduce some industry jargon that simplifies your research and quickly gets you playing with the things that matter most.
Week 1: The First Loop
Your first week with a DAW will cover the absolute basics, creating drum loops.
Working with Drum Loops
Start by importing a drum loop. You can use any loop, but I recommend a drum loop, which typically features at least three distinct elements: the kick drum (also known as the bass drum), the snare drum, and the hi-hats or cymbals.
Start by locating the cut, copy, and paste functions in the program. Don't worry about the keyboard shortcuts for now; focus on slicing the drum loop into any number of small or large bits.
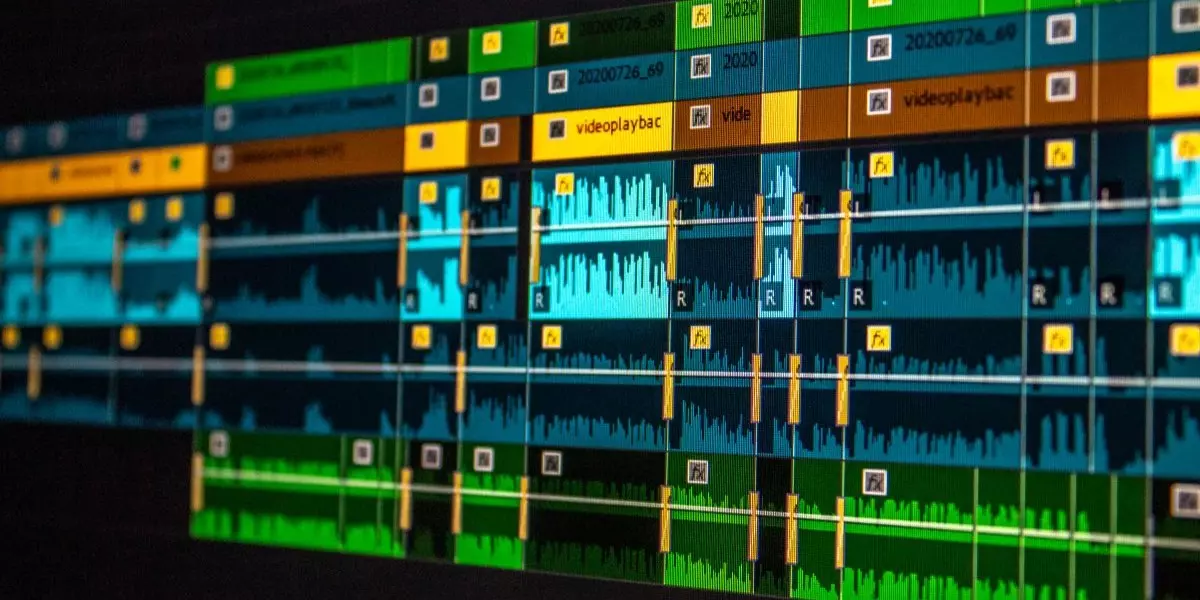
Editing Drum Tracks
Now that you have familiarized yourself with the editing options, arrange the edited drum sounds into your desired loop or beat, and check it with a metronome to ensure it's in time.
The only caution to take is that the level meters shouldn't cross the red line. Once you are comfortable with that, open additional audio channels and create separate tracks for each drum element, then continue making beats.
Adding Effects
If you are in for a small challenge, play with the effects panel and fiddle with equalization, reverb, delay, and echo units. Be aware of the feedback on the delay function; it may distort the signal if the gain is set too high.
Week 2: Audio Effects
If you haven't given up yet, kudos to you. Week two will focus on audio effects. Now that you're comfortable editing loops, it's time to manipulate sound.
Adding Melodies
Next, think about the instruments you want to use for your melodic line. Synthesizers, pianos, guitars, and strings each bring their own unique character to a melody. Experiment with different sounds to find one that resonates with the essence of your beat.
Once you have your instrument chosen, it's time to craft the melody itself. Start by experimenting with various note sequences. You can use techniques such as repetition, variation, and contrast to keep the melody engaging. Don't be afraid to experiment with different rhythms and note lengths.
Adding Compression
Import any bass line or synth loop into a separate audio channel and delve into the art of compression. Experiment with the threshold, side-chain and other compressor parameters. Once you're comfortable with the effects (FX) section, it's time to familiarize yourself with automation.
Adding Automation
Next, introduce automation. Automation involves setting specific parameters of a plugin to affect the audio over time. This feature lets you make real-time changes, such as fading out a track, adjusting reverb over time, or building up.
Week 3: Enter the World of MIDI
You are a true warrior for hanging out in these dangerous waters until now. In week 3 of your 30-day crash course into DAWs, we will be working with MIDI.
MIDI Controllers & Tracks
Every DAW has some basic instruments, such as piano, strings, bass, horns, and various synthesizers. To trigger these instruments to play specific notes or chords, we must send MIDI information to them.
Open an instrument or MIDI track. Import a piano or some synth and start drawing some notes. Using your MIDI controller, record a short melody or chord progression. Experiment with quantization (which aligns notes to the beat), velocity (the intensity of note playback), and layering instruments.
Just like audio, MIDI channels also have FX like arpeggiators, sequencers, and modulators. These effects automate rhythm and tone for more dynamic compositions. Fun fact: you could also automate them.
Week 4: Recording the Real Stuff
If you are in week four and still find it interesting, congratulations! You are in for a wild ride. In the final week of the 30-day DAW crash course, we will look at the basics of recording.
Input & Output Signals
For beginners, the input signal is what comes into the computer, such as your guitar or synth, and the output signal is what you hear or what comes out of the computer. The input signal should always be recorded in green levels, and of course, avoid using red levels unless it's a creative choice.
Ensure that your audio input channel matches the channel on your interface. Some microphones need phantom power to record a good signal. The microphone should be at least 6 to 8 inches away from the source to get a good signal.
Now begin recording any instrument you have. Check for the pre-roll times in the metronome settings. After recording, you can follow the same procedure as week one to get more interesting results.
There is Much to Learn About Music Production
You'll crash your DAW, forget to hit save, and wonder why your mix sounds like cardboard. It happens to everyone as you develop your skills as a producer, and every time you make a mistake, you become sharper and learn from it.
This is just the tip of the iceberg. Music production is an endlessly creative process, whether you want to make a million dollars by making a track for any pop icon or want to make bleep-bloop noises as a hobby.
You don't need a fancy studio or high-end equipment to start producing. You need curiosity and persistence. Download a trial, grab your interface, plug in that mic, and create something today. Start small, keep learning, and make noise like it's your job - because one day it could be.