")
Proper Fretboard Maintenance - A Step-by-Step Guide

Updated on: November 24, 2025
If you’re like most guitar players, the maintenance of your guitar comes second to playing it. Who can blame you? Playing a guitar is significantly more enjoyable than working on it. However, spending a little time on your guitar fretboard will keep it playing and looking great for years to come.
One of the major things missed on countless guitars is a properly kept fretboard. Taking no more than a few minutes every time you change the strings can make a world of difference for your guitar. Let's learn about the fretboard and why maintenance is important.
Why Guitar Fretboard Maintenance Is Important
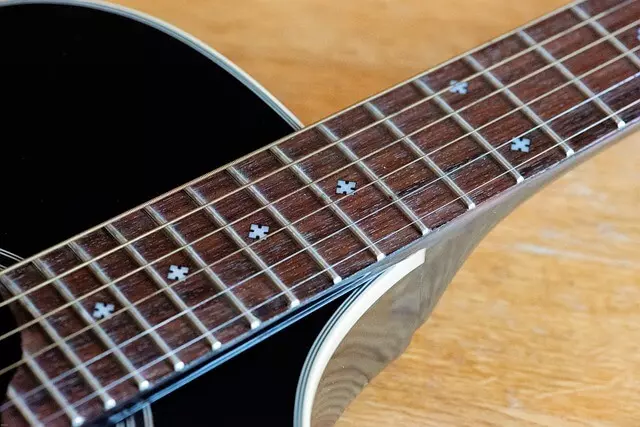
Almost all fretboards that you can buy today are unfinished. While every other part of your guitar is generally covered in some sort of protective coating, your fretboard is a bare piece of wood that is used, abused and exposed to the elements.
You want to keep that bare wood in the best shape you can. Otherwise, you can end up with a dirty, greasy fretboard that doesn’t look good and doesn’t feel nice to play. If you live in a climate that can get dry, it’s possible that your fretboard will crack or shrink drastically.
This guide will explain finished and unfinished fretboards, take you step-by-step how to clean your guitar fretboard, proper fretboard care, and provide general guitar maintenance tips and care to help your fretboard age gracefully.
Note that the process of cleaning your fretboard is largely the same for an acoustic and electric guitar. On one of the steps, they differ slightly, but everything else will be completely the same for the two instruments. However, the process will be a bit different for a fretboard with a finish, like your guitar’s body. Let’s start with that:
Finished Fretboards
If you have a guitar with a finished fretboard, you are in luck. Finished fretboards are one of the easiest to clean. As long as none of the finish has begun to chip from your fretboard, all you need to do is clean it using a soft cloth and guitar polish.
Wipe down your fretboard, just like any other finished part of your guitar. If your guitar finish begins to come off, see your local guitar technician immediately.
For finished fretboards – usually maple fretboards – it is important NOT to use the steps for cleaning unfinished fretboards. Steel wool on a finished fretboard is going to turn a nice glossy finish into a hazy one. Lemon oil will wipe away, and a plastic scraper won’t do anything!

The rest of this article is going to cover unfinished fretboards – usually rosewood, ebony, or an alternative that is now being used on some guitars.
Unfinished Fretboards
Cleaning and conditioning your guitar fretboard will not only keep it looking brand new, but also ensure it sounds at its best. To properly clean your fretboard, there are some tools you will need:
- soft towel/blanket
- steel wool pad
- low-tack masking tape
- plastic scraper
- lemon oil
- rag or paper towel
Now that you know all the tools you need, here are the steps to clean your guitar fretboard.
1. Find a spot, and take the strings off
The first step may seem obvious, but it’s still important. Find a safe, flat and stable place to rest your guitar while working. Make sure there’s something soft against the surface to protect your finish, and something for the neck to rest on. Then you can remove the strings.
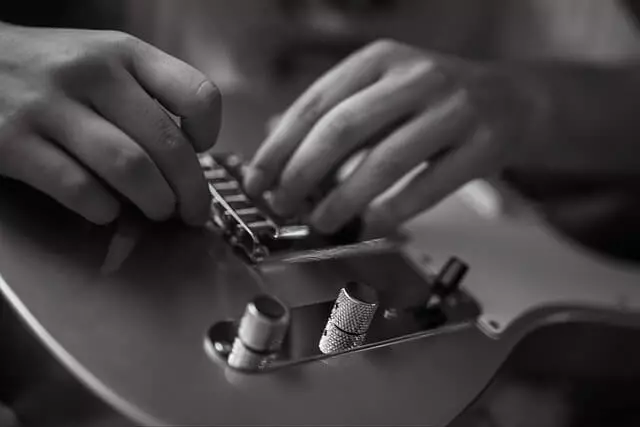
2. Tape off the delicate parts
This step will differ slightly depending on whether you have an electric or an acoustic guitar.
If you have an electric guitar, tape off the pickups (the things in the body, either ovals with metal studs or covered in metal) using a low-tack masking tape.
On an acoustic guitar, you will not have to worry about taping off a pickup UNLESS you have a soundhole-mounted one. If your acoustic pickup system is directly in the soundhole, you should also tape it off.
The reason for this is that steel wool can get into a pickup's magnetic windings and cause significant damage. On both types of guitars, you may also want to mask off the nut and around the body where the fretboard meets it. This isn’t totally necessary, but it's a reasonable precaution to take.
3. Scraping off the built-up dirt
If a guitar hasn’t been cleaned in a long time, there’s going to be dirt built up on the fretboard. Use a plastic scraper to remove the dirt build-up, NOT a metal scraper. Without practice, it can be easy to scrape off too much and change the radius of a certain fret. Go with the grain from head to body and back, not across the fretboard.
Make sure you get in the corner where the fret meets the fretboard. Be careful if you have to go across the grain to reach the corners. You do not want to cut into your fretboard. After you’re done, vacuum up the leftovers.
4. Cleaning the wood
Now that the dirt is scraped off, it’s time to clean up the wood. To make your fretboard smoother, use a super fine steel wool pad – commonly called #0000 or 4 ought – and scrub with it across the grain. Not only is this going to clean out everything the scraper couldn’t, but it’s also going to act as a fine sandpaper and make that fretboard feel smooth.
This is where some masking tape on the body can be a lifesaver; you don’t want the steel wool to scuff up any finish. A bonus, however, is that the steel wool will buff your frets a bit, too. They will look shinier and play smoother, and so will your fretboard!
After you’re done, vacuum away the leftover steel wool bits. You can take off the masking tape now if you’d like, or leave it on for the last few steps.
5. Oiling the Fretboard
The next step is to condition the bare wood of the fretboard. This is what’s going to keep your fretboard guitar fresh, hydrated, and looking good.
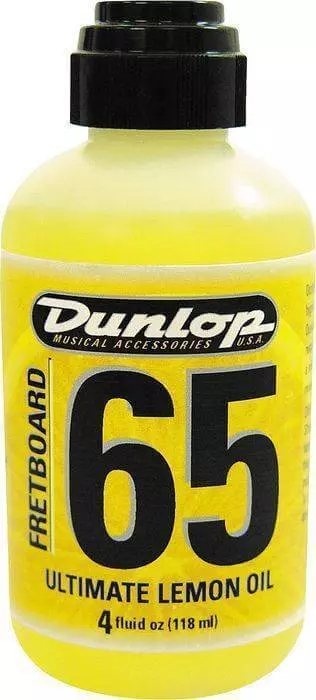
Most players will decide to clean their fretboard when they get new strings. For this type of routine, the Dunlop Lemon Oil guitar cleaner is a good choice for cleaning your fretboard whenever you change the strings, and it smells good, too!
When you take your guitar to a technician, they may use something a little bit different. This has to do with how certain oils penetrate the wood, but for most purposes, the lemon oil will be perfect. Using any other oil or liquid is not recommended. Almost everything else will either not protect the wood adequately or protect it too well, creating a finish.
Put a bit of oil on a rag or paper towel, and wipe it into the fretboard. Start at one end and work your way to the other, generally rubbing across the grain. Make sure you don’t miss a spot along the way. If your guitar is dry, you may need two coats.
Once you’ve applied the oil, use a dry section of the rag or a new paper towel to wipe off the excess. Be sure to wipe along the edges of the neck too, to make sure there is no runoff.
6. Finishing up!
The next step depends on whether you are replacing the guitar strings on your guitar.
If you're not, then this final step is the satisfying part: removing the masking tape coverings. You’ve now properly cared for your fretboard!
Following simple maintenance tips, such as storing your guitar in a case and using cleaning products like a cloth to remove built-up dust and dirt, will increase the lifespan of your guitar. Just a small amount of effort to maintain your guitar after playing is all you need.
If you've purchased new strings and plan to change them, we have a guide on how to restring your guitar.